Receipt Layout
It is easy to modify the layout of the POS receipt in Word.
Make the Developer Tab Visible in Word
How to: Modify the Layout
-
Search for Manual Setup and select the relevant link.
-
Click on Report layout selection.

-
Locate the report that you want to modify (e.g., LS Express reports typically have "LSE" in the search field).
-
Select Custom Layouts to edit the custom layouts that are available for a report.


How to: Create a New Custom Report
-
Choose to create a New custom report.
-
Enable the Insert Word Layout toggle and press OK.

-
Select Export Layout and save it to your local computer.


How to: Modify the Receipt Template in Word
-
Open the exported receipt template in Microsoft Word.
-
Make the desired modifications to the layout, design, and wording of the receipt.
-
To add new functionality, you need to add new fields to the template.
How to: Import the Modified Report
-
After making the modifications, save the Word document.
-
In LS Express, import the modified report back by opening the Report Layout Selection window.
-
Choose which layout to use: the Word (built-in) layout or the customized layout you just imported.


Make the Developer Tab Visible in Word
-
To add new fields, you must first enable the Developer tab in Word.
-
Navigate to the File tab in Word, select Options, then Customize Ribbon.
-
Select the Developer checkbox from the Main Tabs menu to make the Developer tab visible in the ribbon bar.

-
The Developer tab will now be visible in your Word ribbon bar.


For more information on how to show the developer tab, click here.
Adding New Fields
Now that you have opened your receipt template in Word, you can make the modifications you would like. You can make simple modifications directly in the Word document, but to add new functionality to the receipt, you must add new fields to the template.
-
With the Developer tab visible, select XML Mapping Pane under the Developer tab.
-
Choose the Custom XML part for the Microsoft Business Central report that you saved earlier. It will be typically last in the list.
-
The name of the custom XML part has the following format:
urn:microsoft-dynamics-nav/reports/report_name/ID
-
Expand the header to see a list of fields that you can choose from to customize your receipt.
-
To add a field, select the area on the receipt where you want to add the field, then right-click the desired field from the Header tab in the XML Mapping pane.
-
Choose Insert Content Control and select Plain Text. The field will be added to the receipt in the chosen location.


For more in-depth help on how to add fields to a Word Report Layout, click here.
Example
I want my receipt to say "You were assisted by" instead of "Staff: " on my invoice POS slip. I export it to my local computer and open it with Microsoft Word. Then I edit the wording:
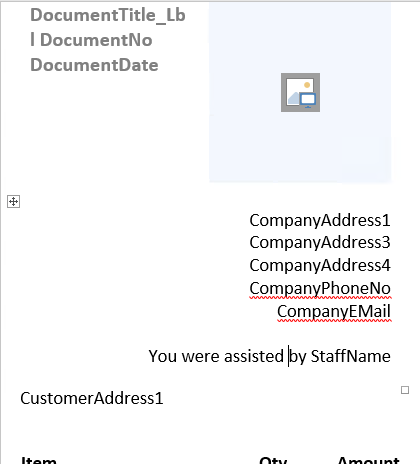
After exporting the report back into LS Express, I test my customized report by running it and compare the difference.

For detailed instructions on how to modify receipt layouts, please visit the MSDN website.