Menu
In LS Express, you have the flexibility to modify the Point of Sale (POS) interface to suit the specific needs and preferences of your customers. You can customize the appearance and functionality of the POS menu, change button colors, add or remove columns and rows, and even create submenus for more organized navigation.
How to: Create a POS Menu
-
Open the Administration page, go to Navigate and select Menu.
-
This will display the POS Menu List, which contains all the existing POS menus or click on the New button to create a new POS menu.
-
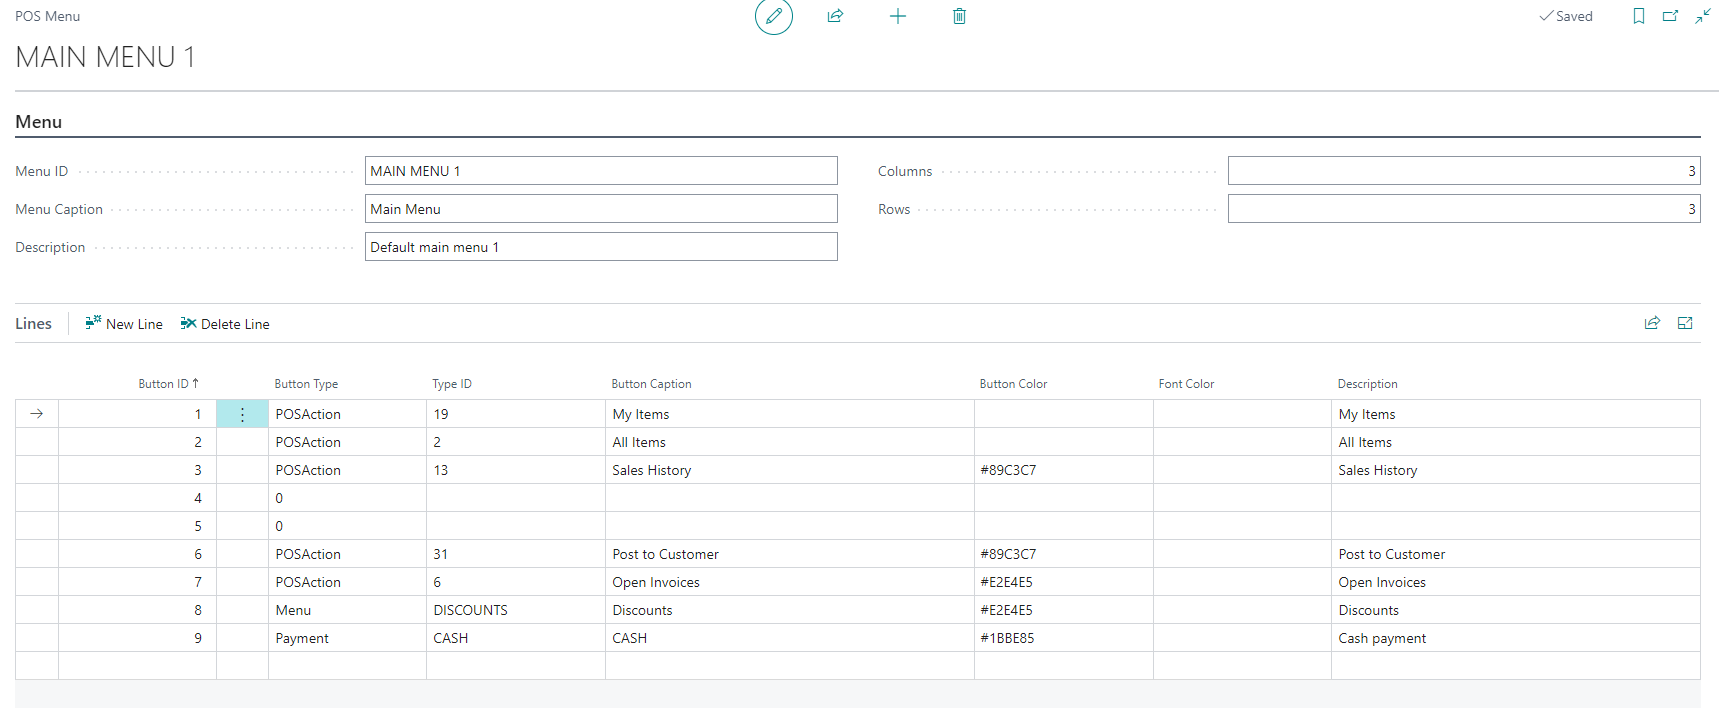
In the Menu FastTab, you need to provide Menu ID, caption and description. Additionally you can decide how many columns and rows you want to display within the panel. This will determine the number of buttons visible on the main menu. For example, if you set 3 columns and 3 rows, you will have space for 9 buttons.
-
In the Lines FastTab, you need to choose the Button Type for each Button ID, which specifies what action should occur when the user presses a button. You can choose from various types of buttons, such as Item (to add an item to the sale), Menu (to access sub-menus), POS Action (to perform specific actions), and Payment (to process payments).
-
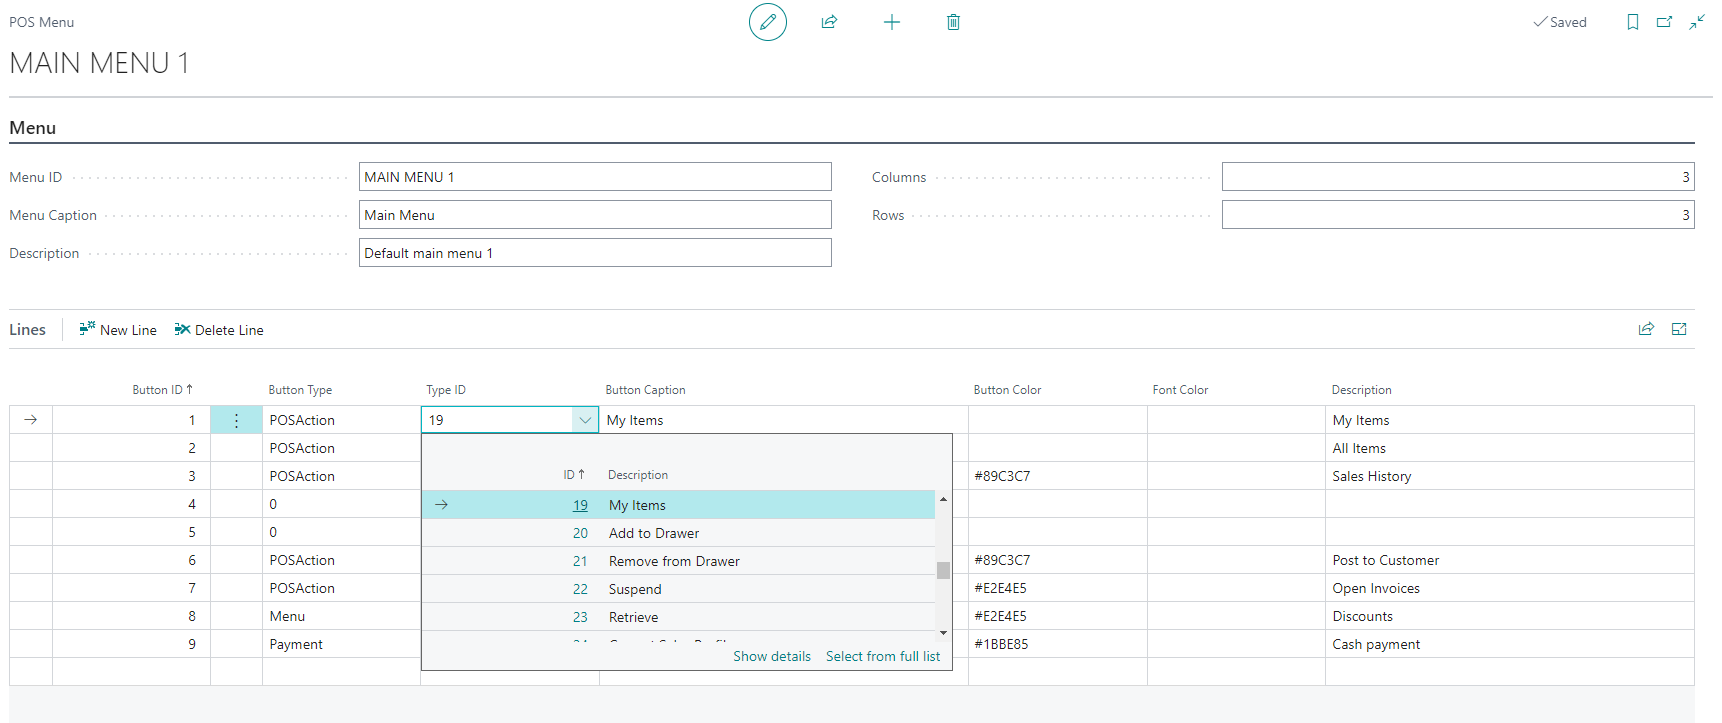
For each button, you need to specify the Button Type ID, representing the type of button you have defined (e.g., the Item ID or Menu ID). Additionally, you can customize each button's appearance, including color and font, to make them visually distinct and appealing.
-
If you want to create sub-menus for a more organized navigation experience, you can define additional menus and link them to the main menu buttons. This allows you to create a hierarchical menu structure with multiple levels.
-
Once you have created and customized the POS menu, you can apply this menu to specific Sales Profile by configuring the Menu Profile. The Menu Profile determines which menu will be displayed for different POS Profile.


