Sales Profiles
Sales Profiles in LS Express allow you to define different configurations for each Point of Sale, including store settings, printing options, and drawer preferences. Here's a step-by-step guide on various actions related to Sales Profiles:
How to: Create a Sales Profile
How to: Configure Printing in Sales Profiles
How to: Configure a Drawer in the Sales Profile
How to: Connect to LS Pay Service
How to: Set Up Hardware Station
How to: Set a Custom Report Layout
How to: Assign Sales Profile to Users
How to: Verify the Sales Profile on the POS
How to: Create a Sales Profile
-
To open Sales profile, go to Administration > Navigate > Sales Profiles.
-
In the sales profile list, there should be at least the "Default profile - System-Created" profile in the sales profile list. If you upgraded from a previous version of LS Express, your old printing configuration has been migrated to the system profile.
-
To create a new Sales Profile, select New from the action bar in the Sales Profile List.
-
On the General FastTab, specify the ID and description for the Sales Profile.
-
New Interface: Select the store to which the profile applies and the POS Menu Profile that applies to the Sales Profile.

-
Turn on Same Item Separate Line if you want each unit of the same item added to the sale to appear on its own sales line, instead of being combined into one line with an increased quantity.
How to: Configure Printing in Sales Profiles
-
Turn on the Print Slip Automatically toggle if you want the POS to print a receipt automatically at the end of each sale. Staff members can still choose to email or print the receipt manually, regardless of this setting.
-
Choose the type of receipt printing you prefer - a standard sales slip or a larger invoice receipt.
-
For each receipt type, you can choose between PDF and PrintNode printing methods:

LS Pay: How to Print a Merchant's Copy
If LS Pay is set up, a new field Print Merchant Copy allows you to choose when to print a merchant's copy of the receipt (Same as print slip, Always, or Never).
How to: Configure a Drawer in the Sales Profile
-
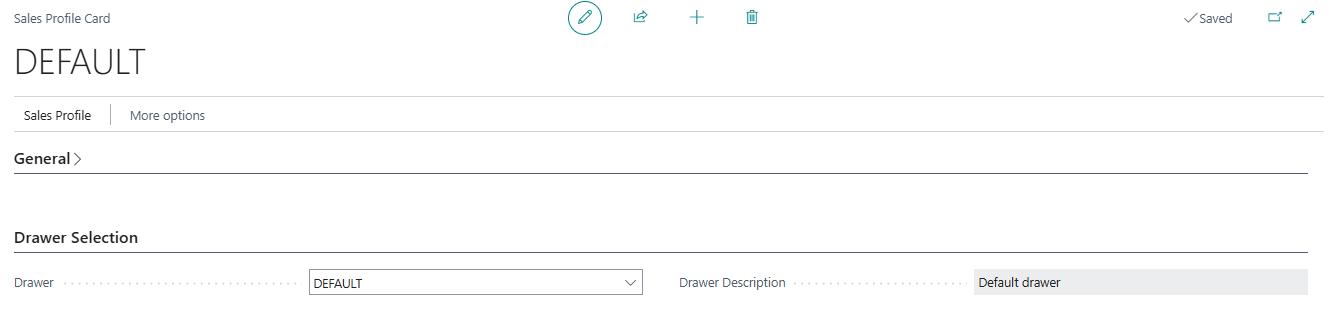
If you want to pre-select a drawer for every sale and avoid manually selecting one, you can define a drawer in the Sales Profile.
-
When a sales profile has a drawer defined, the POS automatically uses that drawer without prompting for selection during payment.
-
If no drawer is defined in the sales profile, the drawer list pops up if there is more than one available drawer.
-
It is possible to use the Printer hardware driver to trigger the drawer to open after a sale. See How to: Use the Printer Hardware Driver.
-
You can also print a slip automatically whenever cash is added to or removed from the drawer, independently of the sales-slip printing above. See Add Cash to a Drawer.
How to: Connect to LS Pay Service
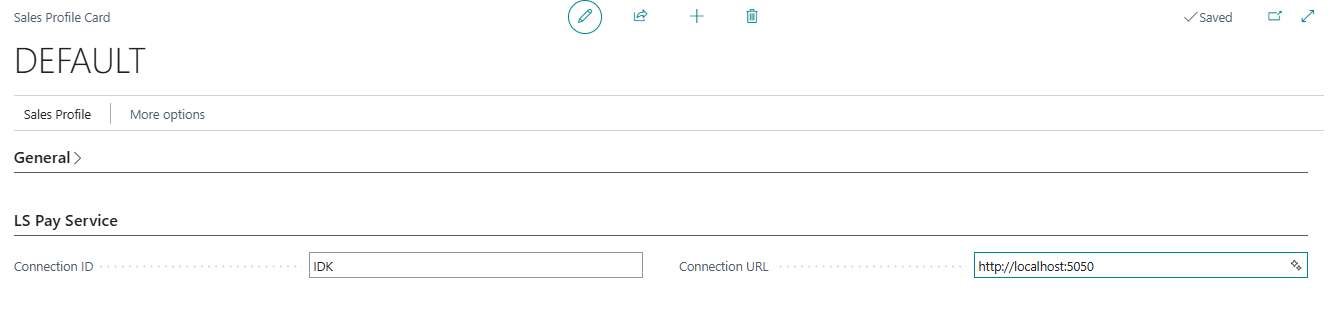
If your store uses LS Pay Service and LS Express Setup, enter the Connection ID and Connection URL in the LS Pay Service FastTab so the Sales Profile knows which LS Pay Service connection to use.
How to: Set Up Hardware Station
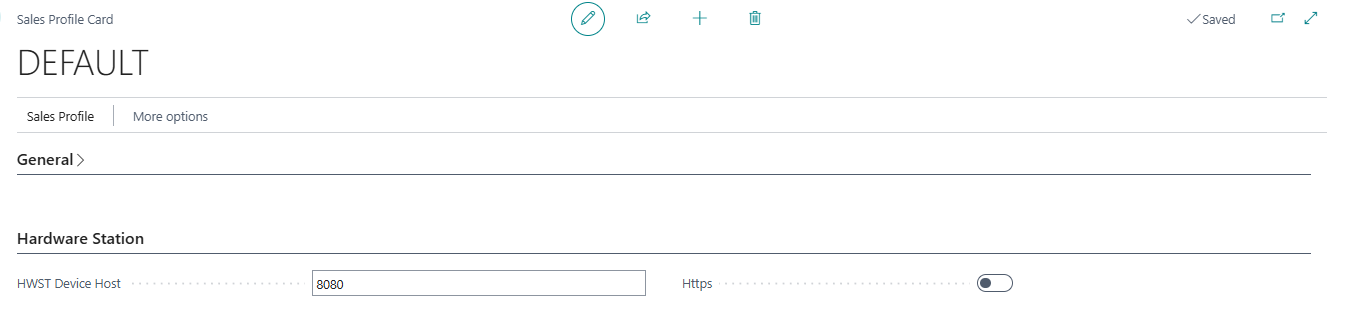
If you use LS Hardware Station instead of PrintNode to open the cash drawer, configure the HWST Device Host (and, if applicable, HWST Https) in the Hardware Station FastTab. See How to: Setup Hardware Station in LS Express for the full setup.
How to: Set a Custom Report Layout
The Custom Report FastTab lets you assign a custom report layout, per document type, for this Sales Profile — one field each for the invoice slip, credit memo slip, customer payment receipt slip, and customer refund receipt slip. See Custom Report Layout for details on each field.
How to: Assign Sales Profile to Users
-
Go to Administration > Navigate > Subscription.
-
In the Point of Sales List FastTab, select a Sales Profile for each POS User ID.
How to: Verify the Sales Profile on the POS
-
In the POS, select the Current Sales Profile option.

-
The POS will displays the information on the sales profile currently in use.
