i-Seal
The i-Seal module is specifically designed to manage export seal transactions and generate export reports.
How to: Disable Seal Functionality
How to: View i-Seal Transactions
How to: Export i-Seal Transaction
How to: Export Report i-Seal Transaction
How to: Setup i-Seal
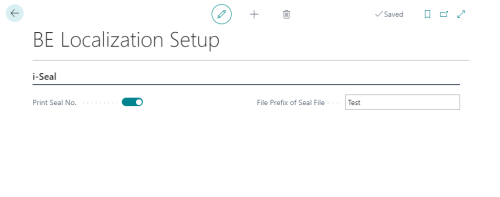
To set up i-Seal, follow these steps:
-
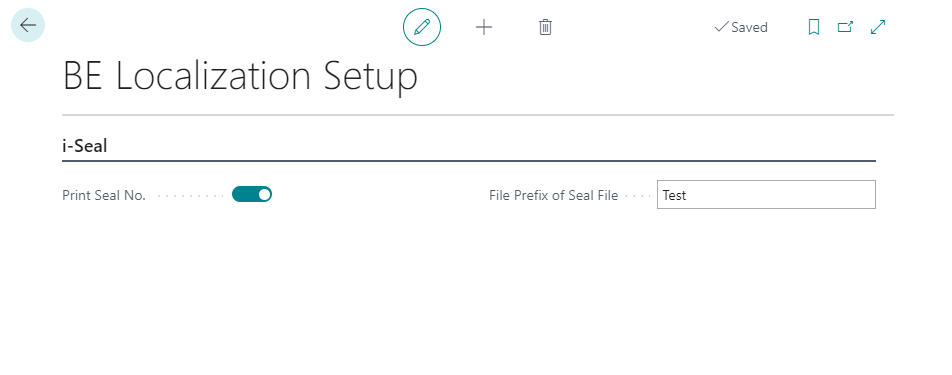
Search for BE Localization Setup and select the relevant link.
-
Enable the Print Seal No. toggle to allow the Seal number to be printed on the receipt.
-
Define the desired prefix for the seal file.
-
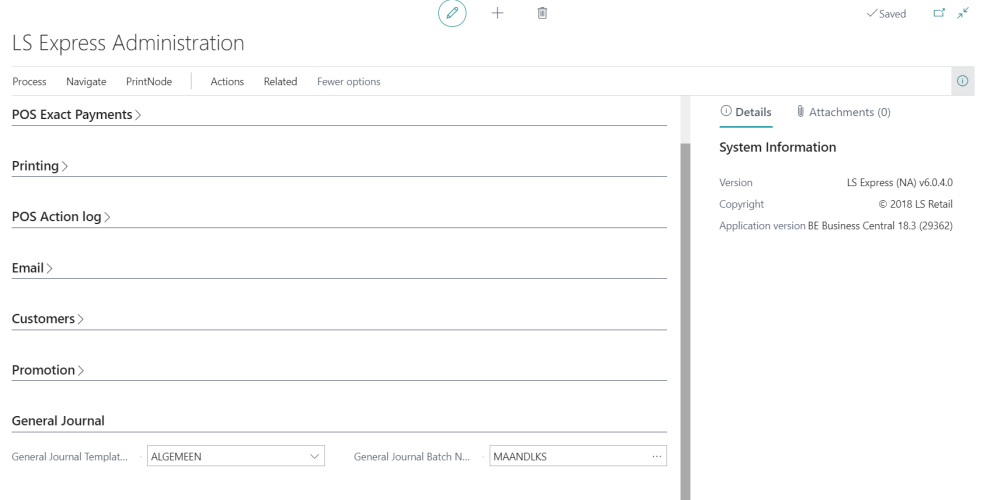
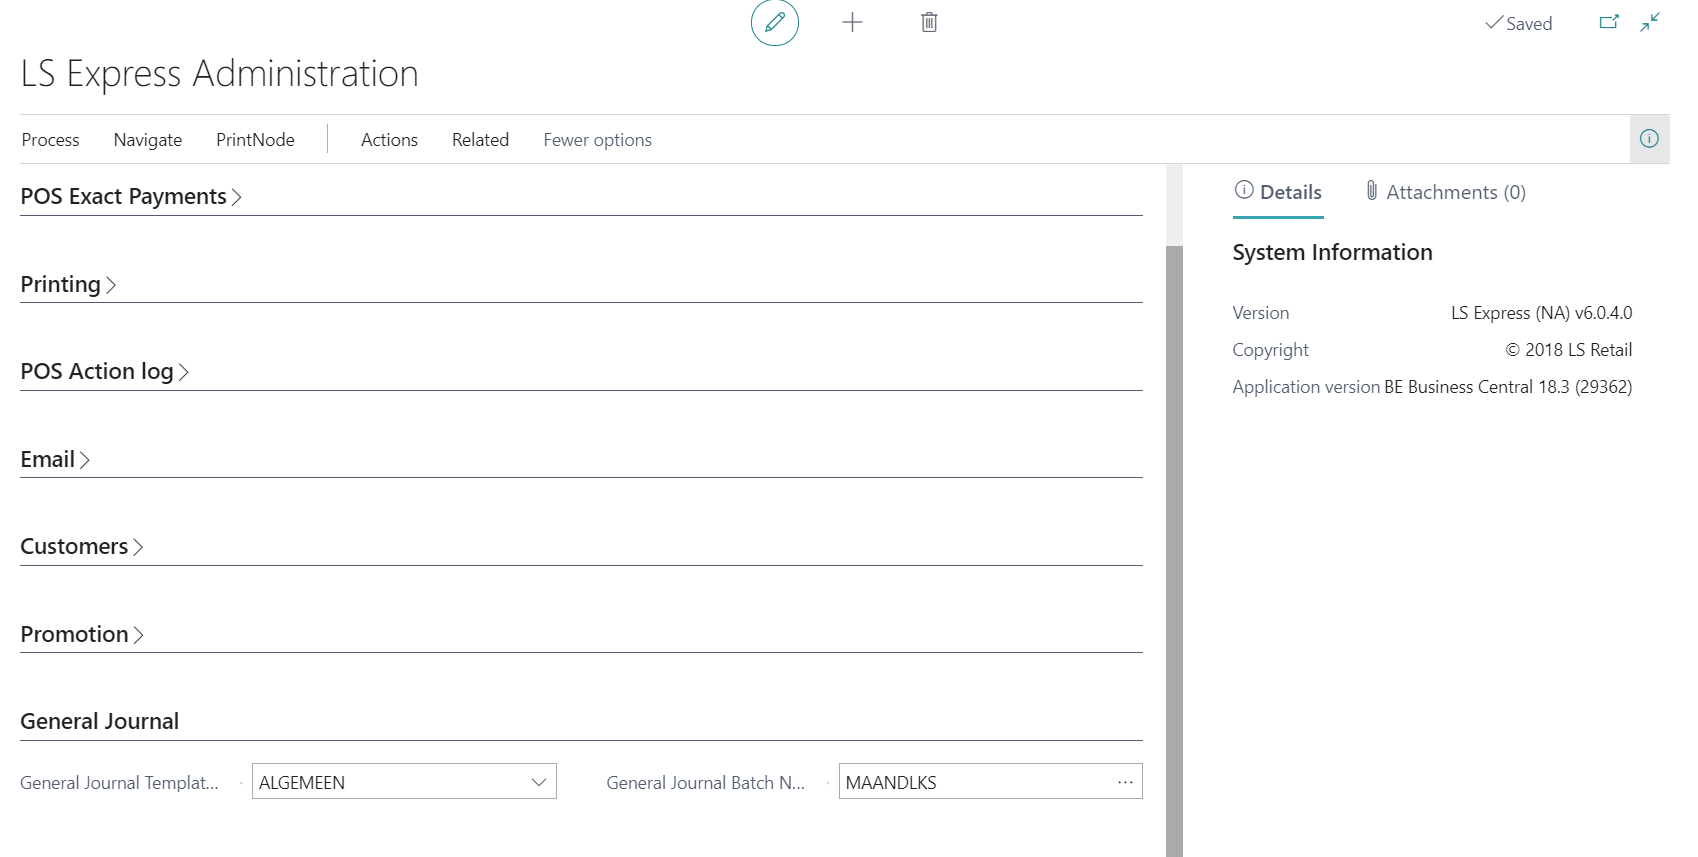
Specify the Journal Template Name and Journal Batch Name fields in the General Journal fast tab.
How to: Disable Seal Functionality
To disable seal functionality, follow these steps:
-
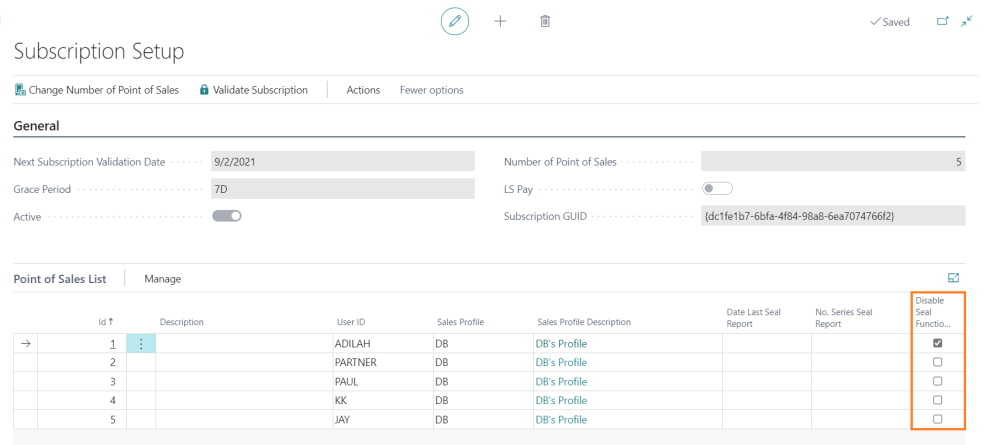
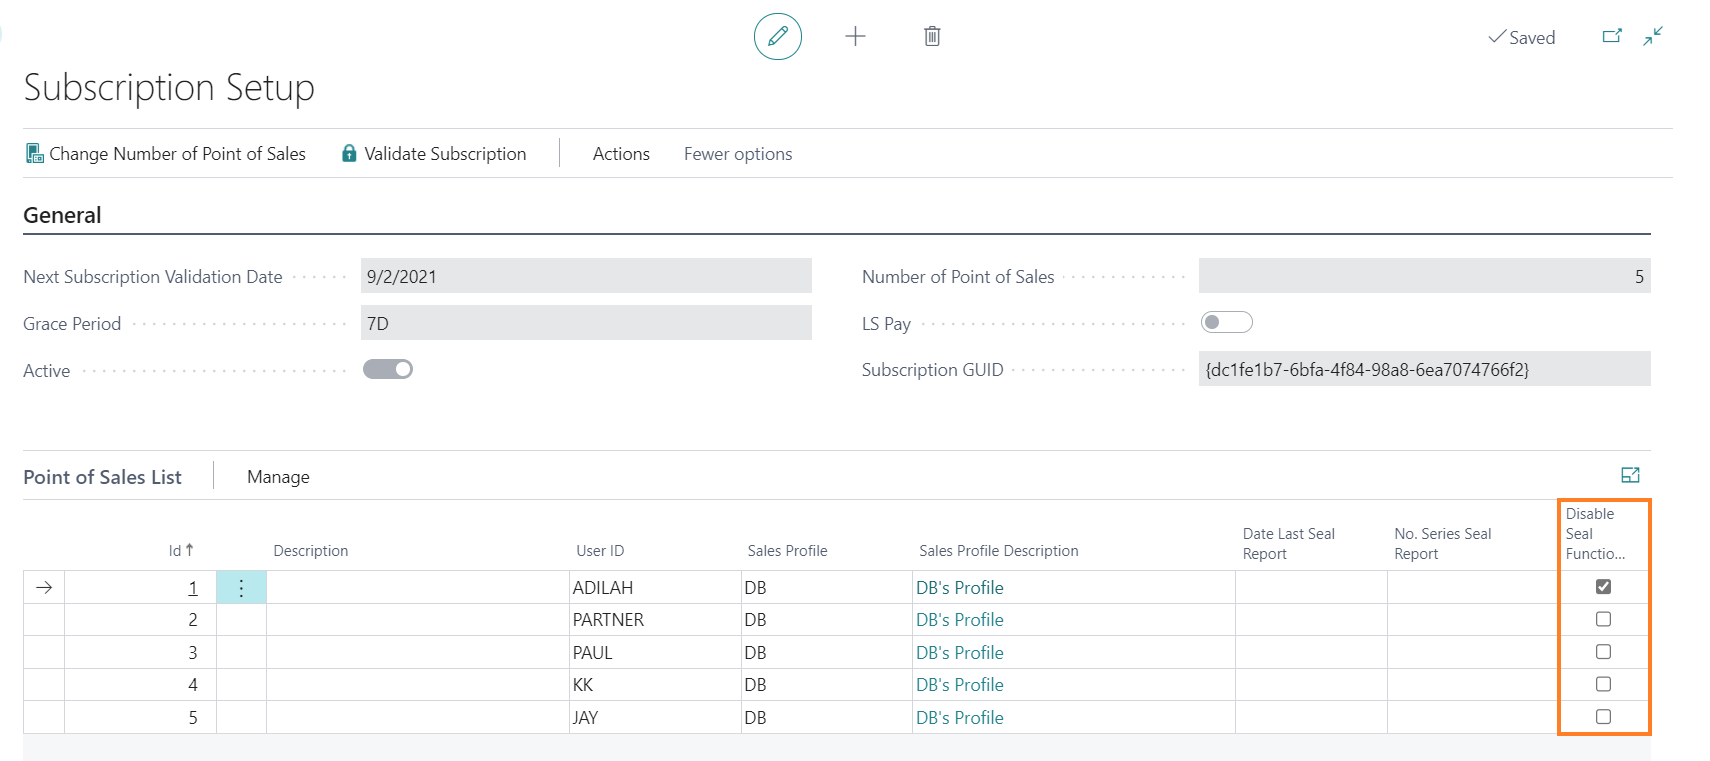
Go to Administration > Related > Subscription.
-
In the Point of Sales List fast tab, select the Disable Seal Functionality checkbox. This prevents the generation of i-Seal transaction records when a sale is posted.
-
If you leave the field blank, i-Seal transaction records will be automatically generated.
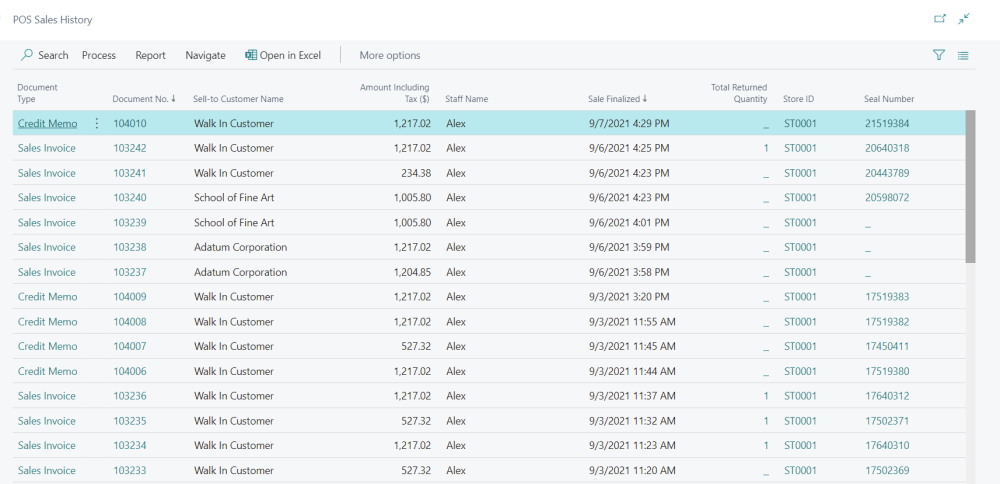
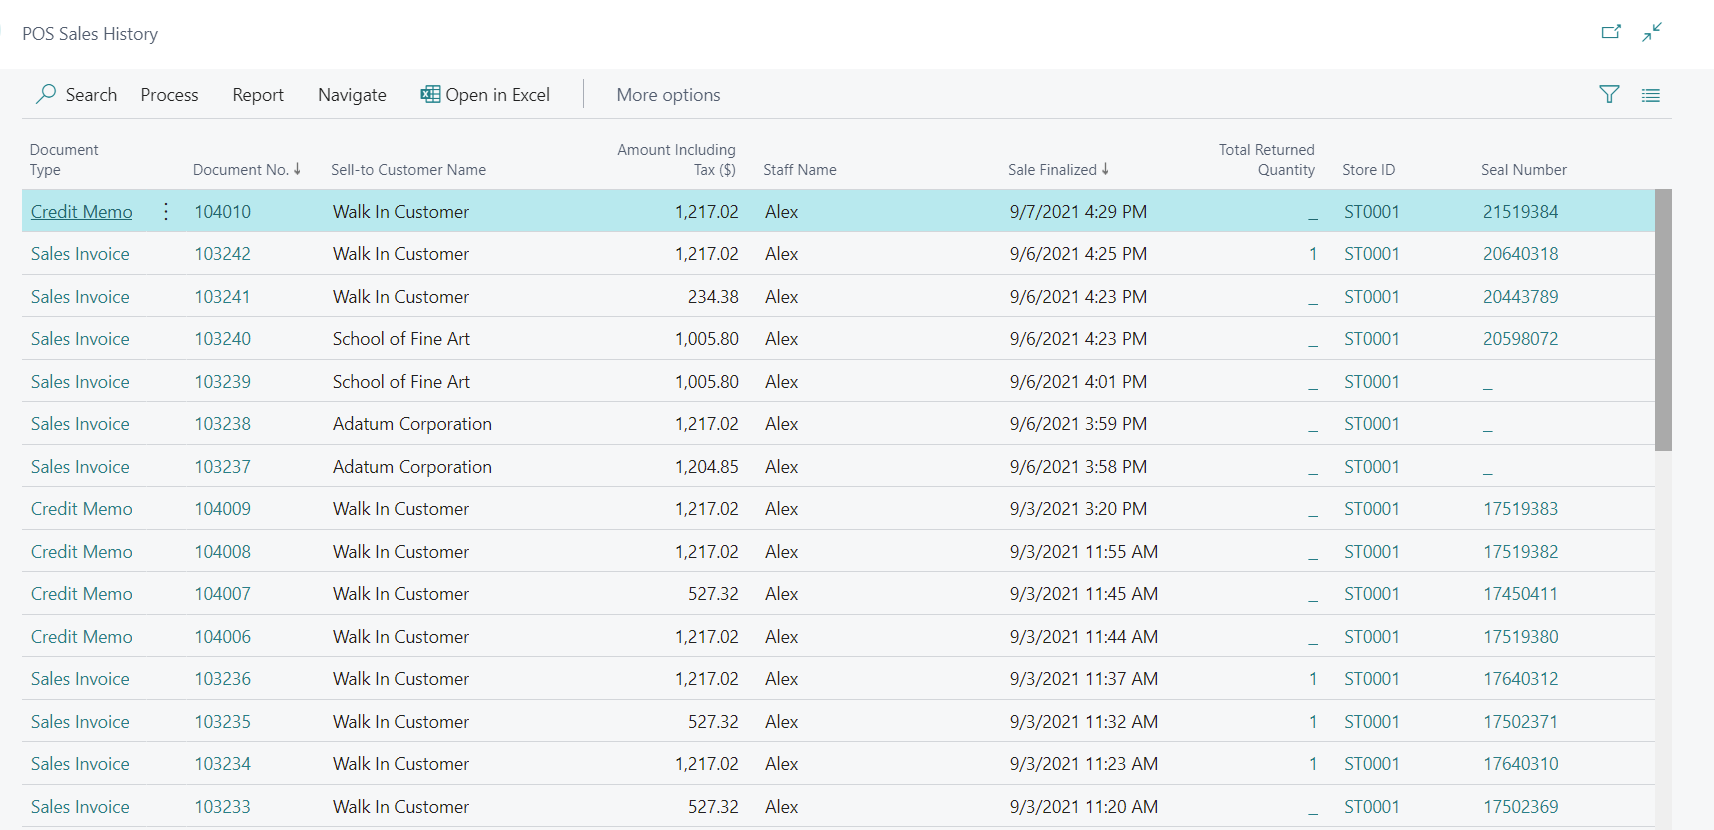
How to: View i-Seal Transactions
The sales history allows you to track item history for normal sales, reverse sales, or returned items. To view i-Seal transactions, follow these steps:
-
In the Sales History table, the right column displays the Seal Number for each transaction. Clicking the Seal number will navigate to the i-Seal Transactions List page.
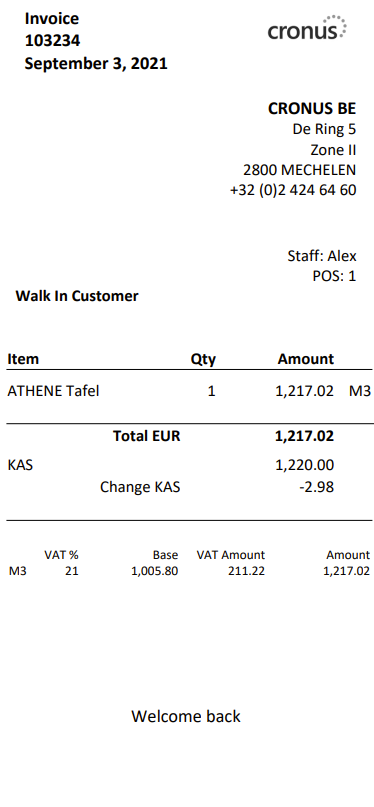
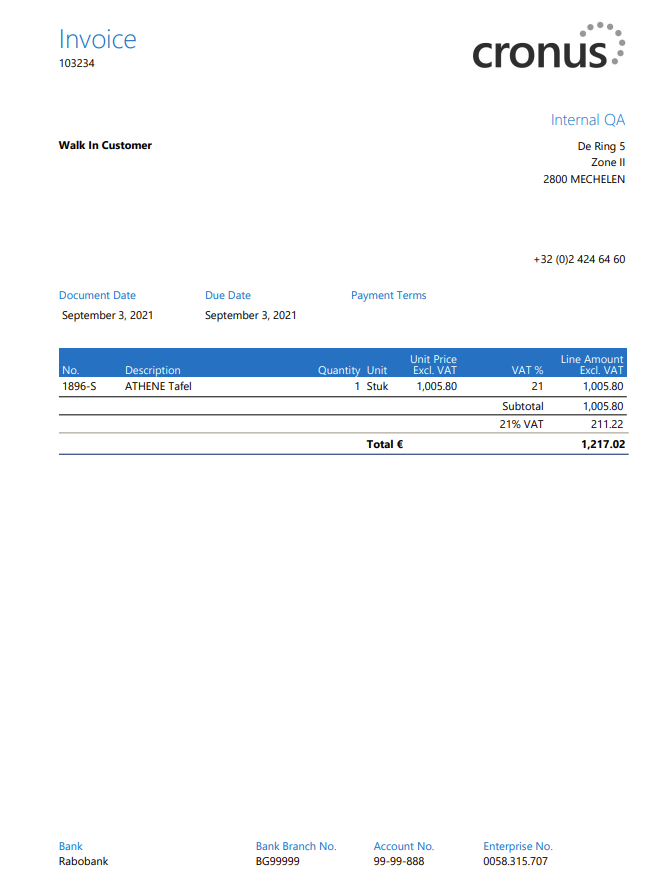
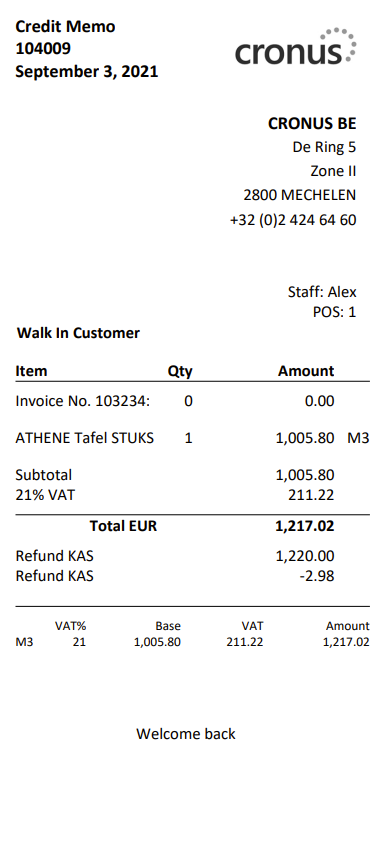
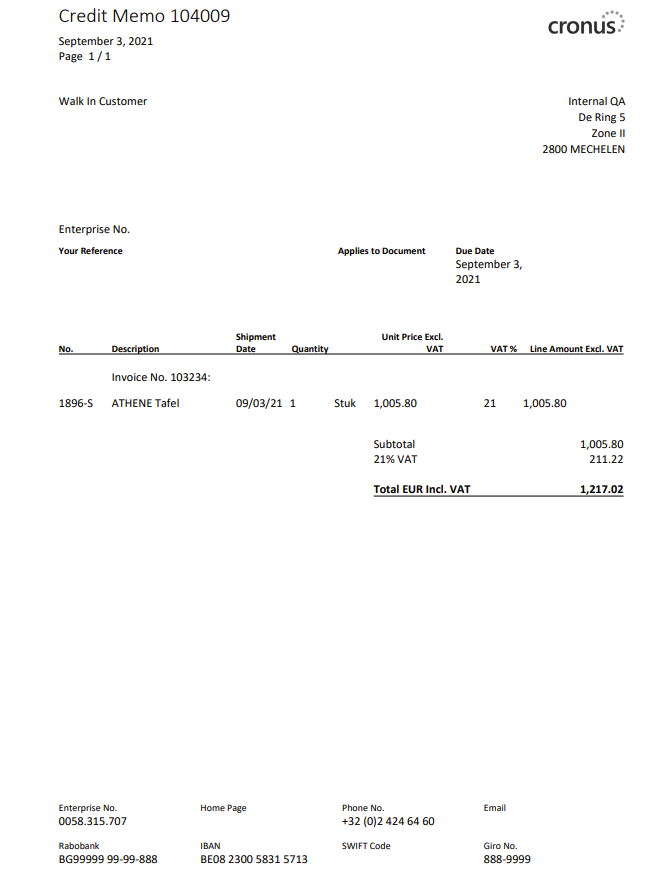
POS Receipt Printing
Enabling the Print Seal No. option in the BE Localization Setup page allows the seal number to be printed on the receipt slip and invoice when a transaction is posted.
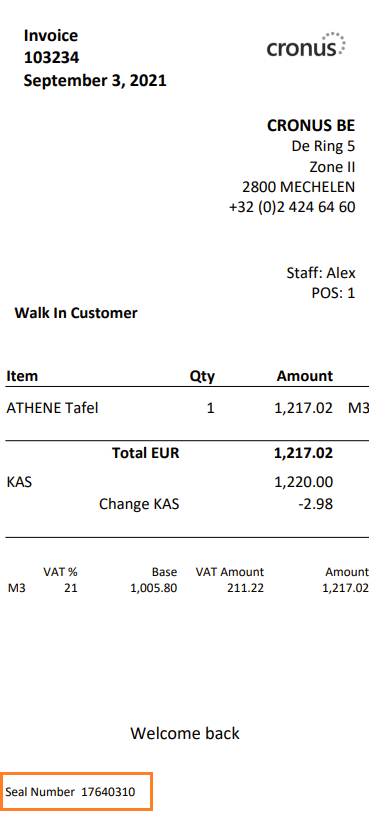
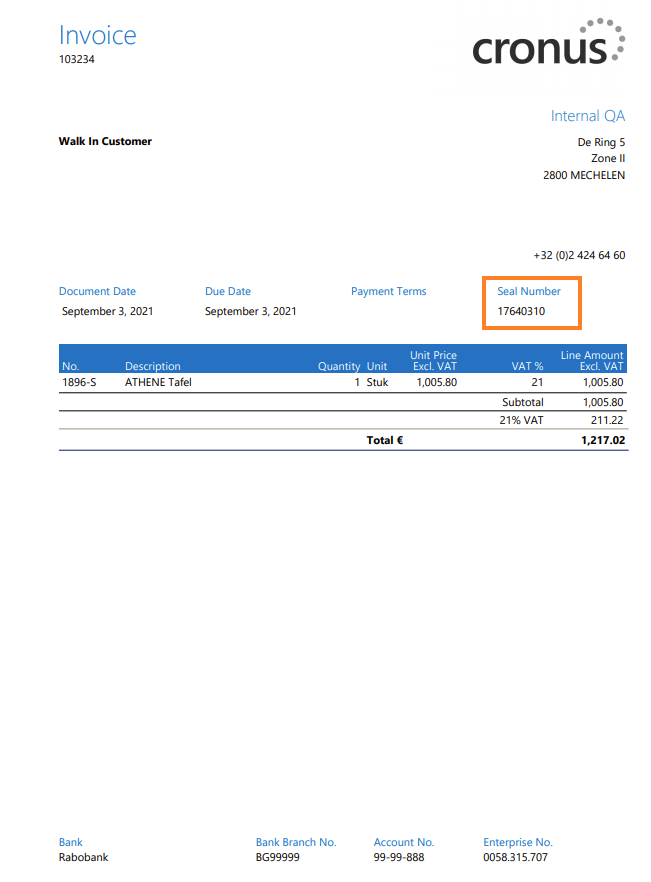
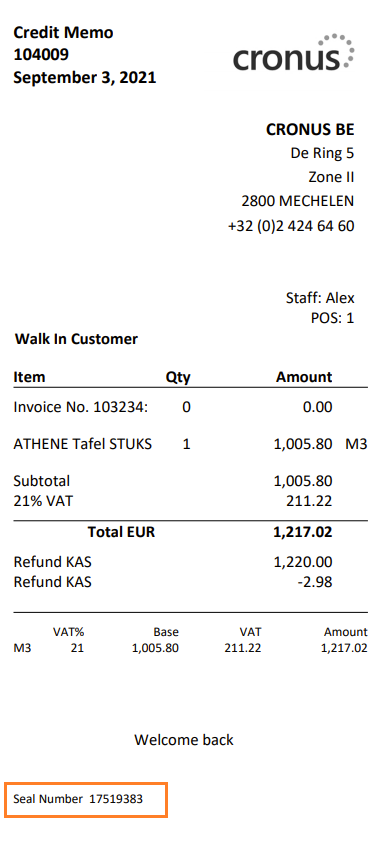
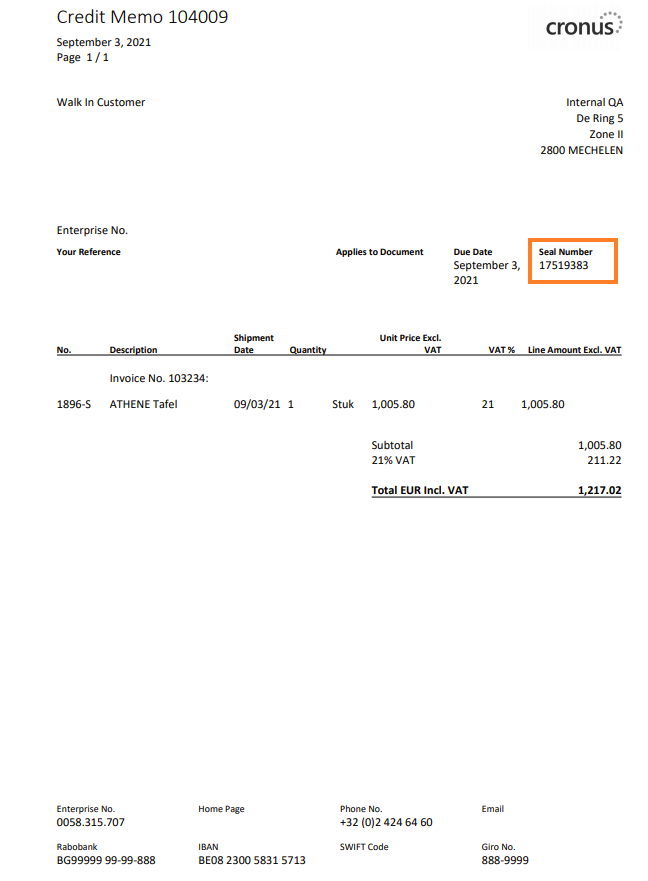
If you disable the Print Seal No. toggle in the How to: Setup i-Seal instructions, the receipt slip and invoice will not print the seal number. However, the seal number will still be generated in the i-Seal transaction entries.
For information on modifying the layout of the POS receipt in Word, refer to Receipt Layout.
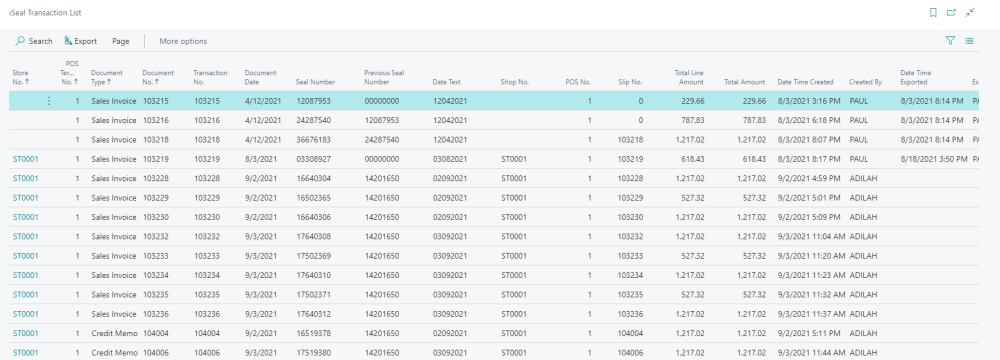
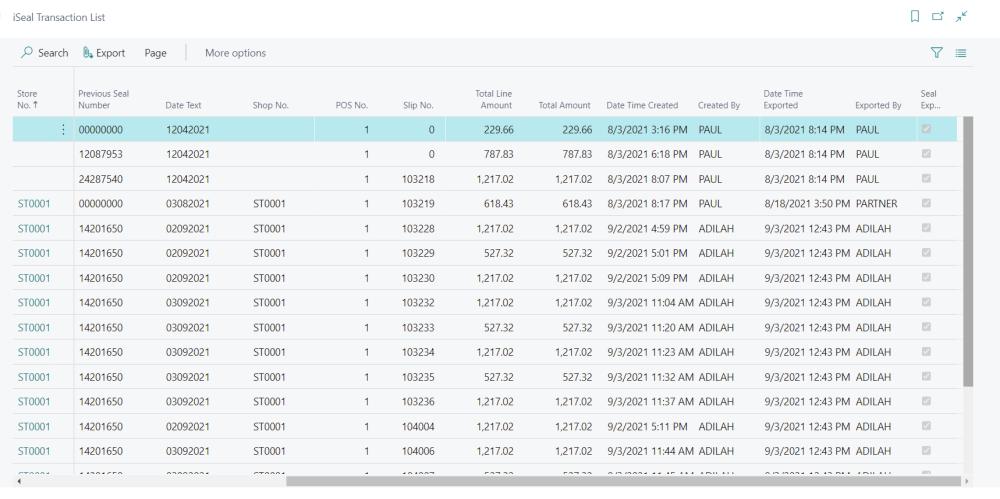
i-Seal Transactions List
To view the i-Seal transactions list, follow these steps:
-
Search for i-Seal Transaction List and select the relevant link.
-
Once a transaction has been posted in the POS, the table will display the transaction entries with the Seal Number. The first transaction will have a seal number of zero, while subsequent transactions will have unique numbers. Note that no seal number will be generated if no transaction is posted.
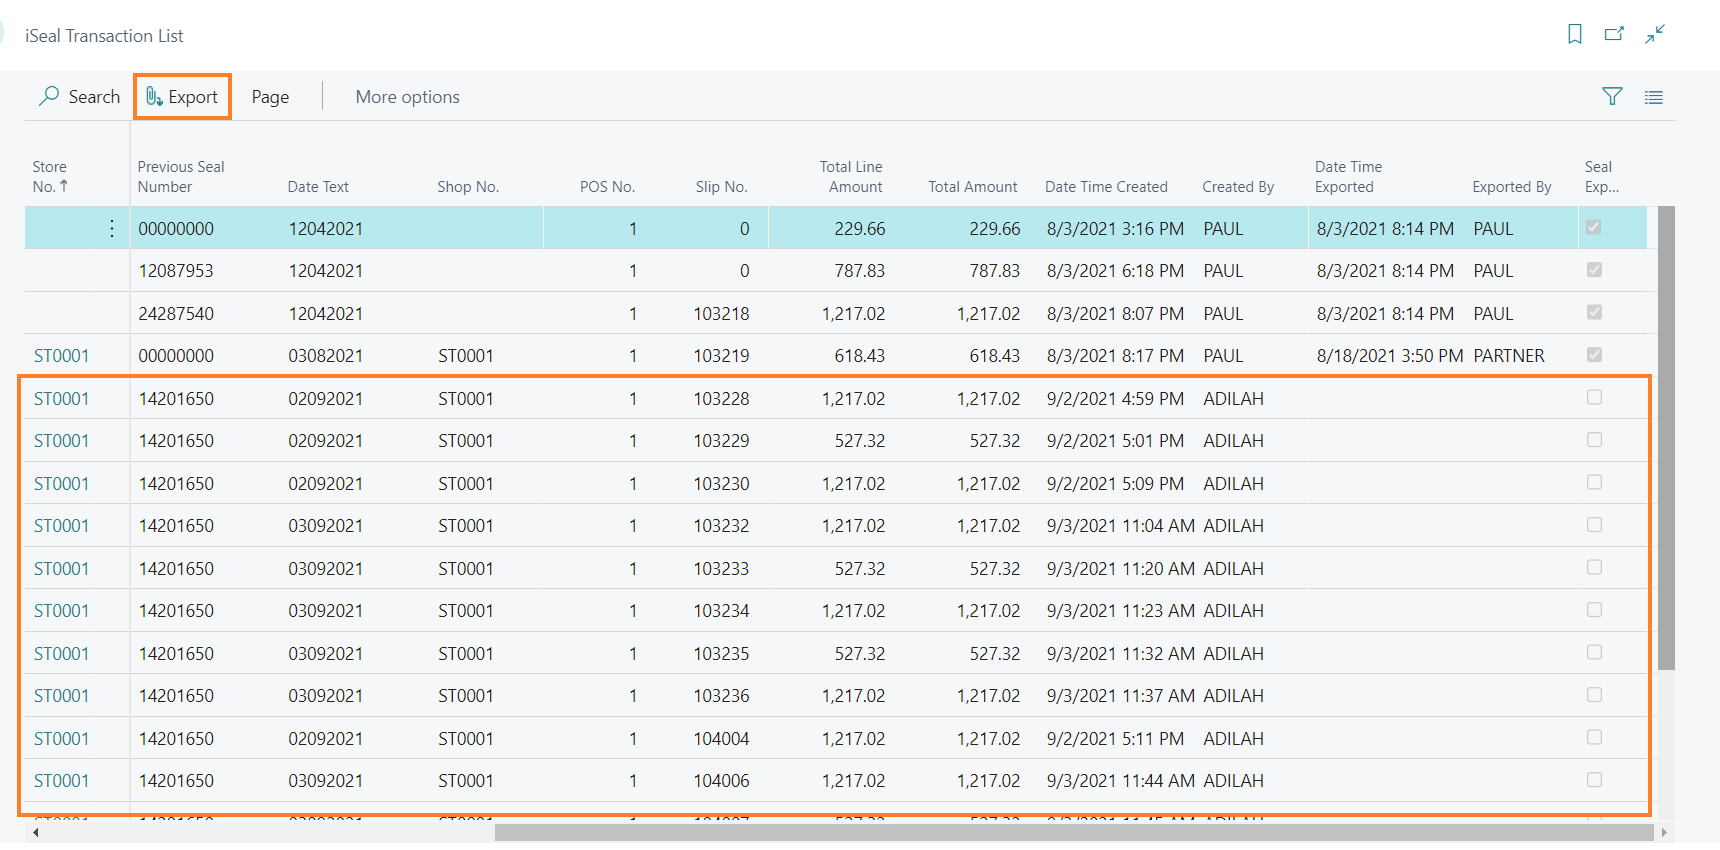
How to: Export i-Seal Transaction
To export i-Seal transactions, follow these steps:
-
Highlight the rows representing the transactions that have not been exported.
-
Select the Export action.

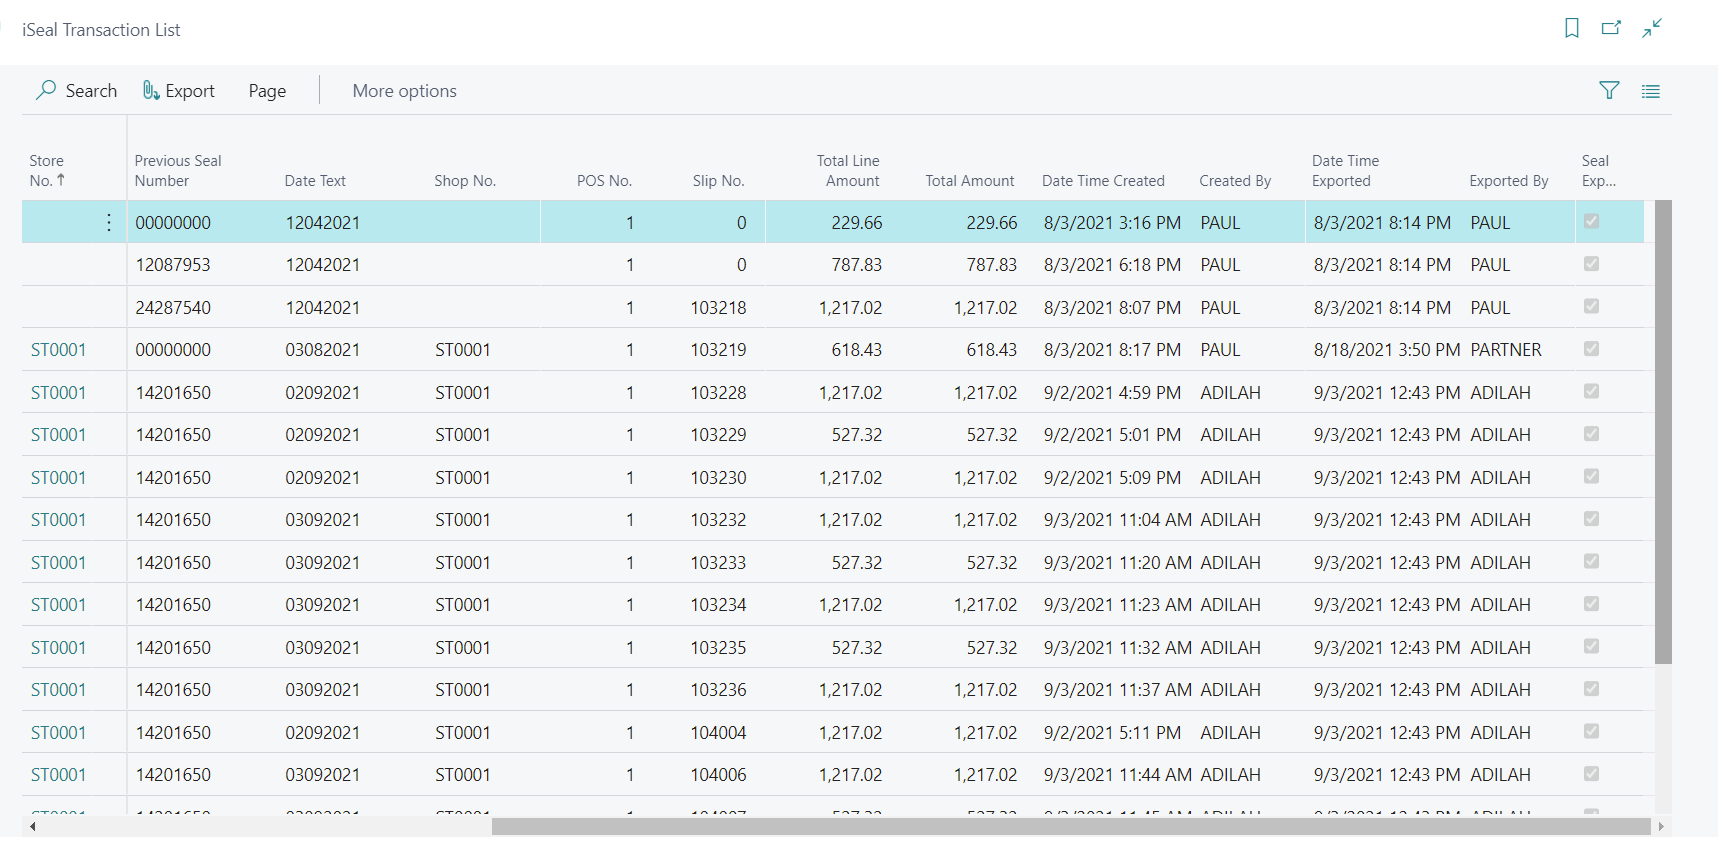
-
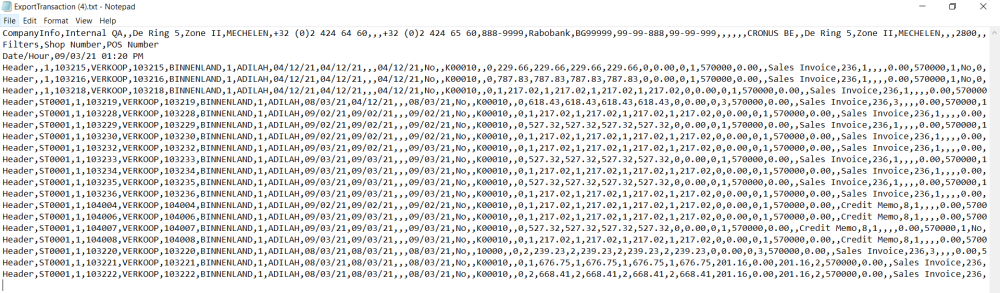
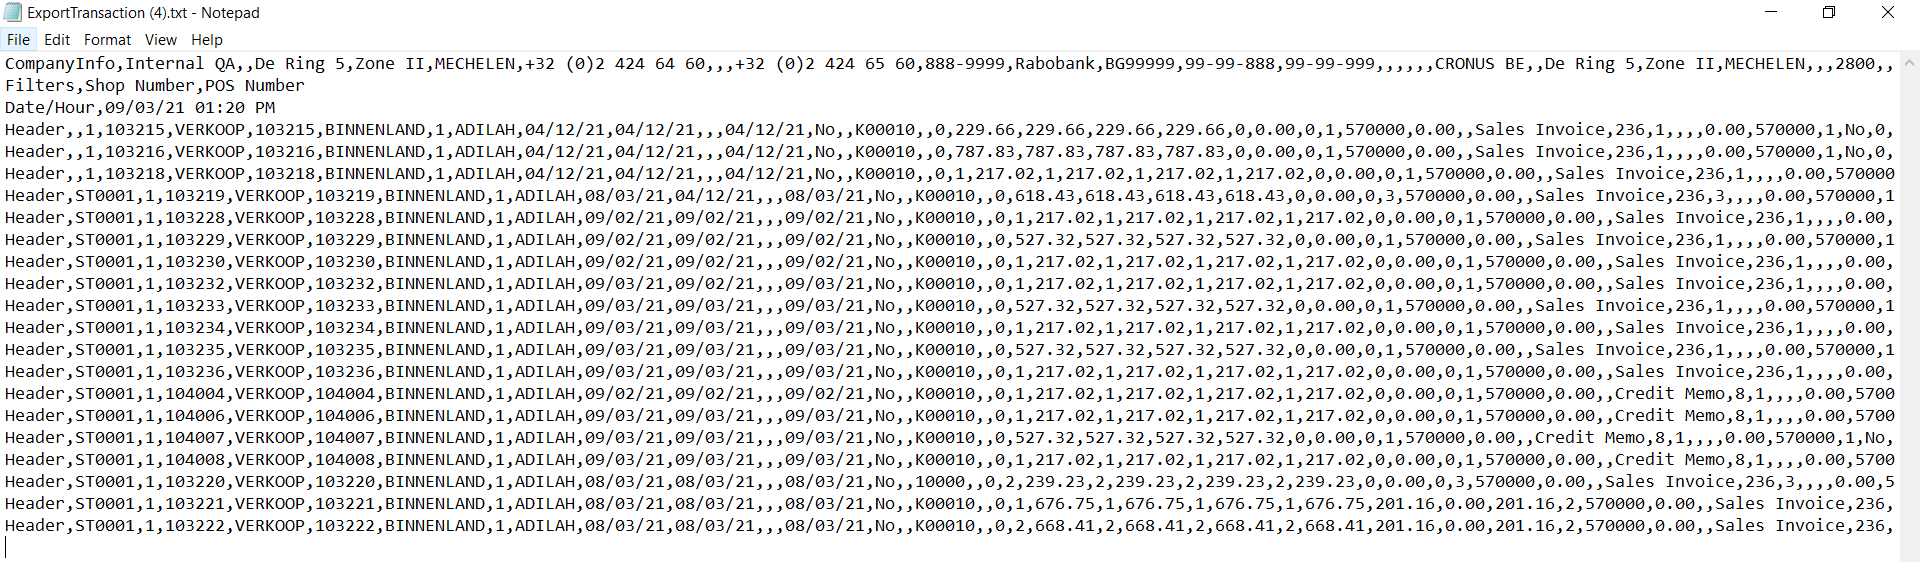
LS Express will upload the file information to the CSV file, indicating the exported date and time, exporter, and seal exported information.
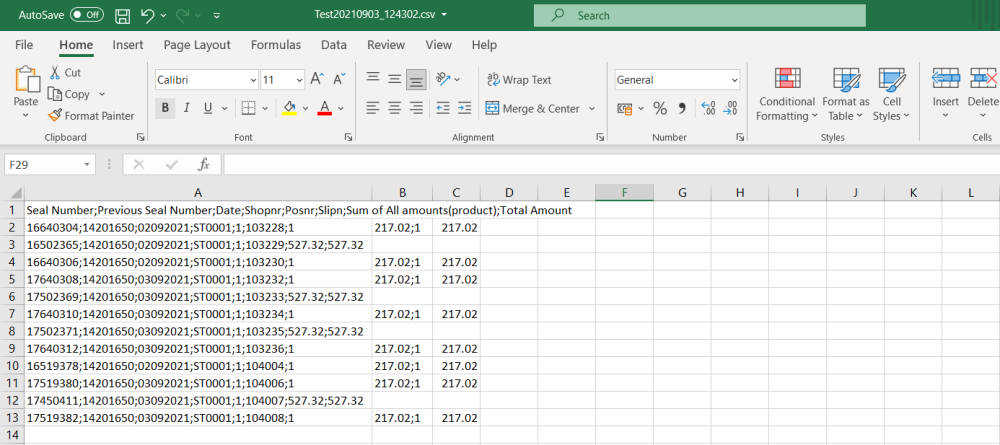
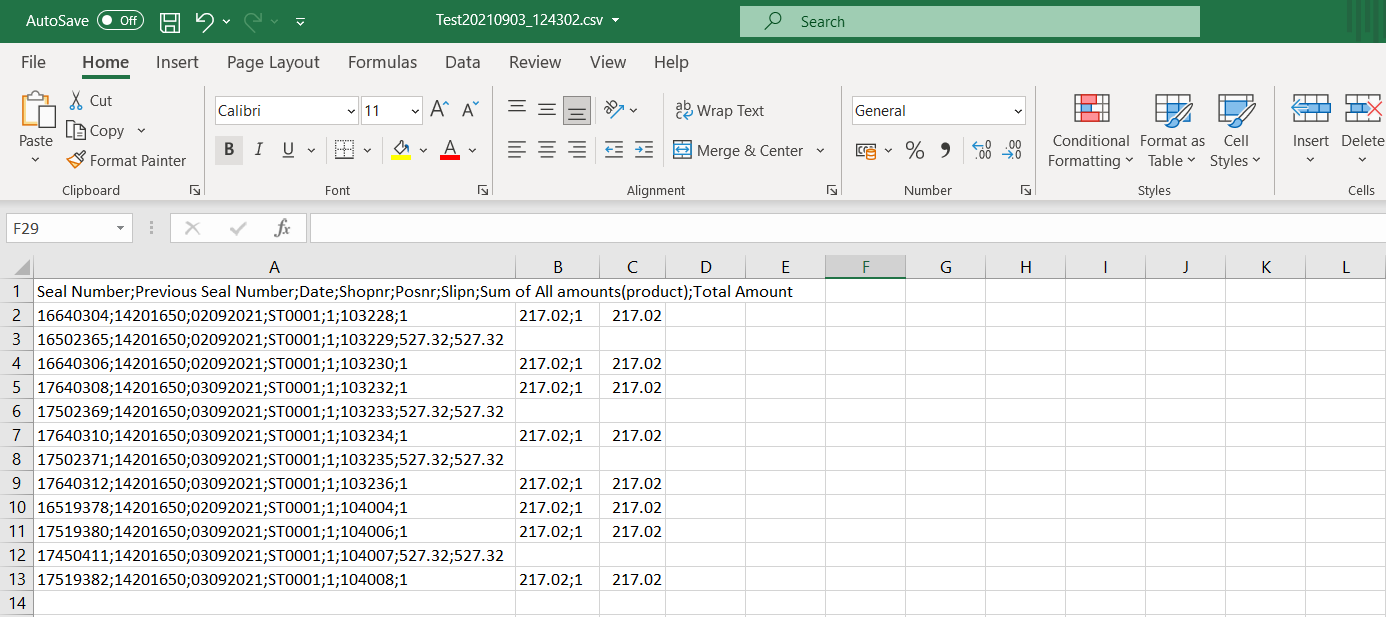
How to: Export Report i-Seal Transaction
To export a report of i-Seal transactions, follow these steps:
-
Search for Transaction Export Report and select the relevant link.
-
Select OK to export all the transactions.

-
The export report will be generated in a text file, which may contain multiple lines for a single receipt.