FAQ
Here are some of the frequently asked questions we get:
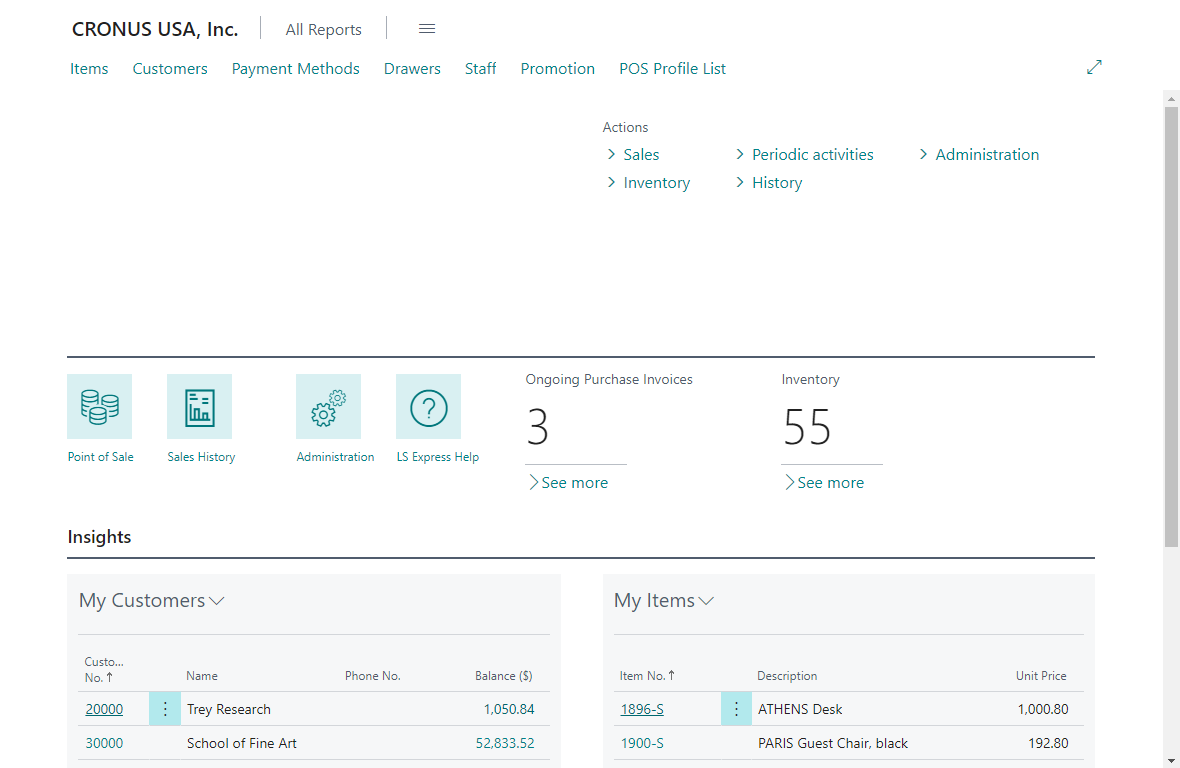
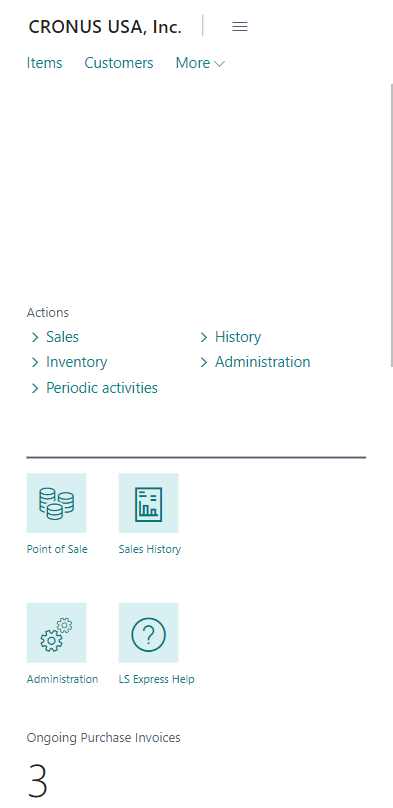
When opening LS Express on different devices, the look changes - but did you know it is possible to change between these looks in a browser?
The default mode when opening LS Express in a browser is the "web client" mode. In this mode, all features are visible - some might not be accessible in the other modes.
Please note, this also can be the case when opening LS Express in the app on the Surface tablet in the desktop mode, for example, but once the Surface is in the tablet mode, the app switches to tablet mode.
The URL in the browser should look similar to this: Click here.
The tablet look
-
To change to the tablet look in a browser, add "/tablet/" at the end of the URL.
-
The URL in the browser should look similar to this: Click here.
The phone look
-
To change to the phone look in a browser, add "/phone/" at the end of the URL.
-
The URL in the browser should look similar to this: Click here.
When you select to print, the output saved as a PDF on your device, particularly if the app is permitted access to the device. The ability to print the PDF and how to do it depends on the type of devices and network conditions.
The scenarios below describe how to set up your printer with various devices:
Disclaimer: The information provided here is provided „as is“, without warranties of any kind, either expressed or implied, including without limitation warranties of title or implied warranties of merchantability or fitness for a particular purpose. You now acknowledge that you use this information at your own risk. LS Retail ehf. and its affiliates are not responsible for and expressly disclaim all warranties of any kind concerning third-party content, products, and services. LS Retail ehf. and its affiliates will not be responsible for any loss, costs, or damages incurred due to your access to or use of third-party content, products, or services.
All of the scenarios below use Google Cloud Print and an Epson TM-T70II printer.
Setting up the printer
- Connect your Epson TM-T70II receipt printer to the local area network. You can also connect the printer directly to a local computer.
- Install the drivers that came with the printer, or download the drivers directly from the manufacturer.
Google Cloud Print
After setting up the printer, you can add it as a classic printer to the Cloud Print application via the Google Chrome browser. For more information, see here.
iOS devices
-
On the iPad, buy the PrinterShare Premium app from the Appstore and connected it to your Google Cloud Print account.
-
Select your Epson printer as the default printer.
-
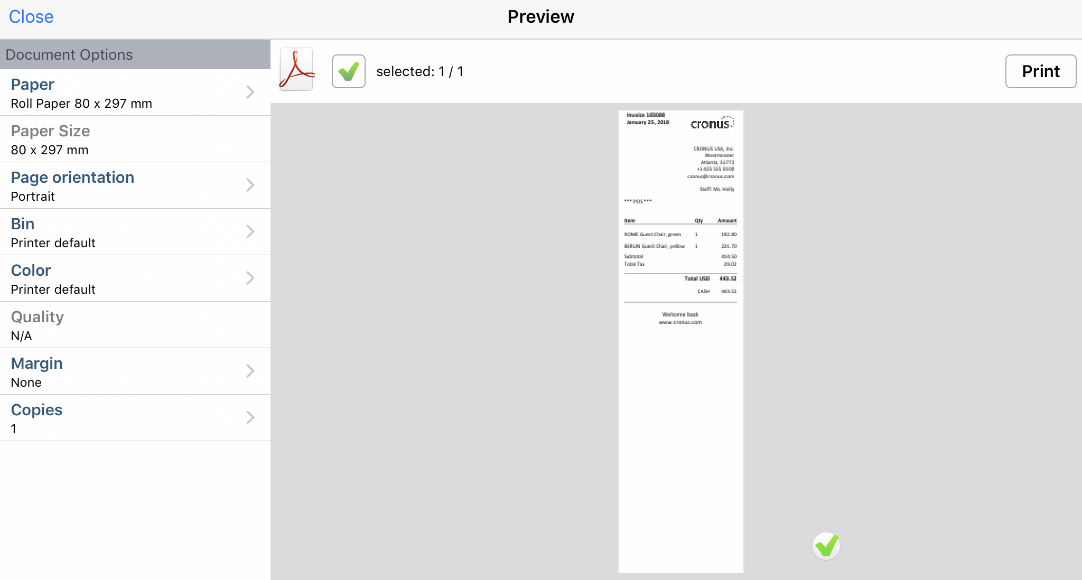
Once you finish the sale in the app and select to print the receipt, the iPad asks where to share it.
-
Select to import the receipt with PrinterShare:
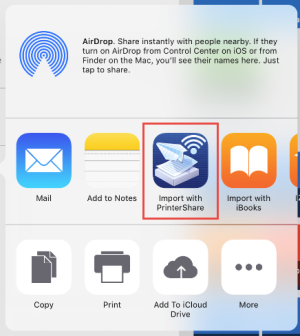
-
The receipt opens in the PrinterShare app, where you choose to print it.
-
Once the receipt prints, go back to the app, and the POS is ready for another sale. This was tested on iPad and iPhone - the process is the same on either device.
Android devices
-
On the Android device, buy the PrinterShare Premium app from the Play Store and connected it to your Google Cloud Print account.
-
Select your Epson printer as the default printer.
-
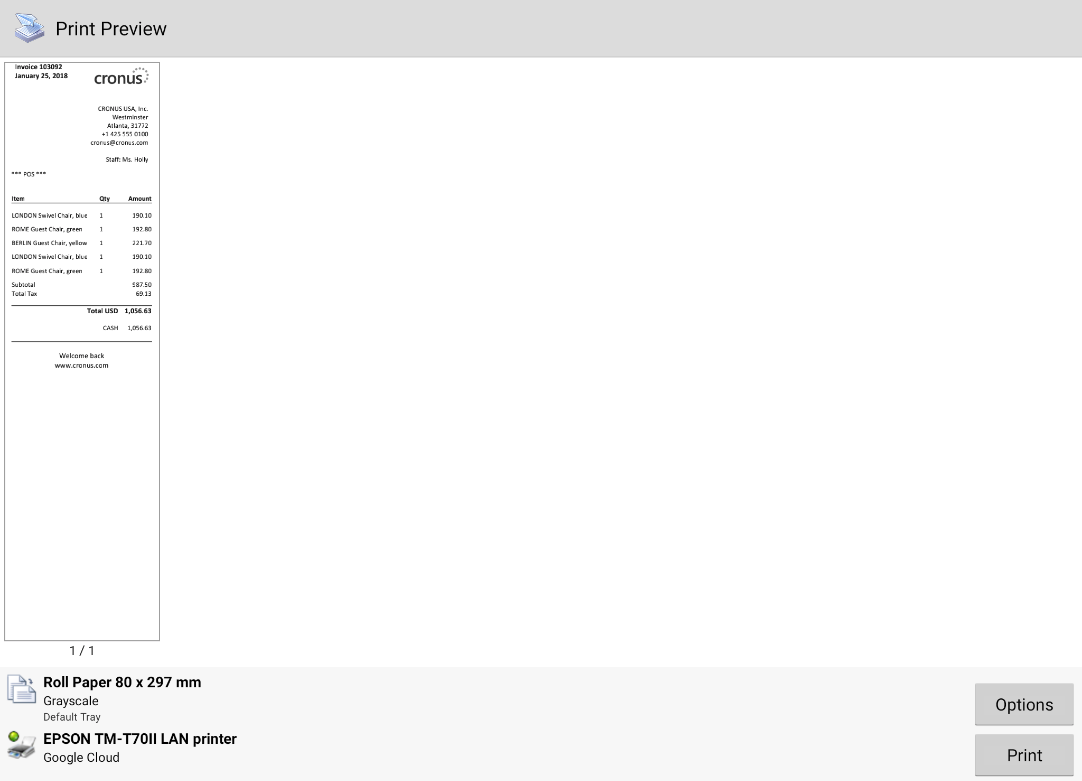
Once you finish the sale in the app and select to print, the receipt opens automatically in the PrinterShare app, as you configured it to do by default:
-
When the receipt is printed, go back to the app, and the POS is ready for another sale.
This was tested on an Android tablet and an Android phone - the process was the same on either device.
Windows devices
-
On a Microsoft Surface tablet, just set up the printer as a regular Windows printer and print the PDF directly.
-
However, on the Microsoft phone, you must download an app, WinPhonePrint, from the Store and connect it to your Google Cloud Print account.
-
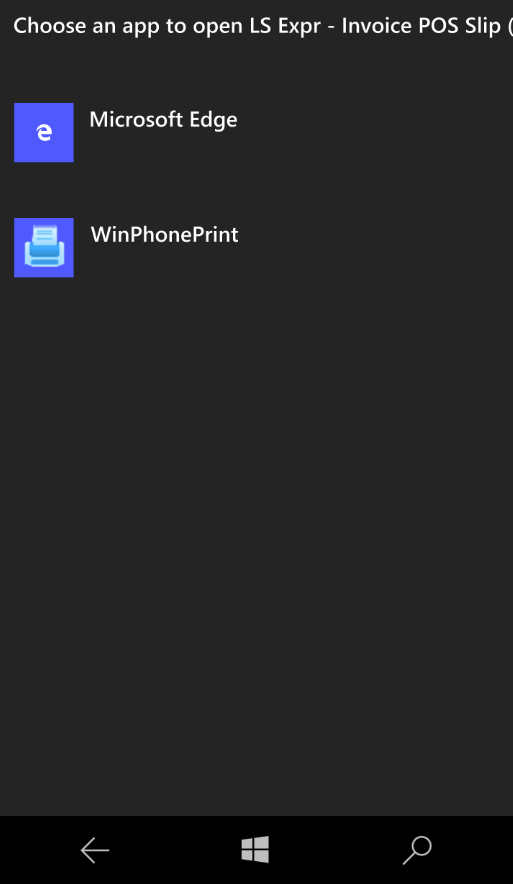
Once you finish the sale and select to print the receipt, you select to send it to the WinPhonePrint app:
-
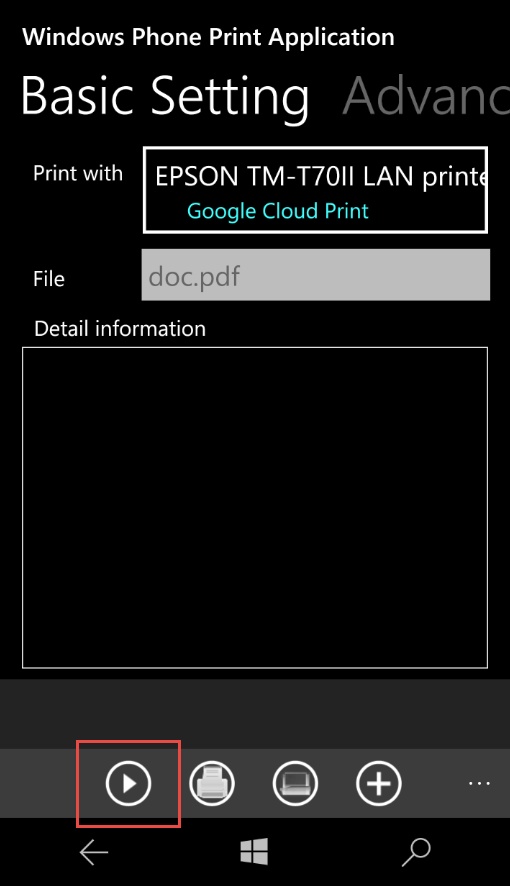
The receipt opens in the WinPhonePrint app, where you select to print it:
-
When the receipt prints, go back to the app, and the POS is ready for another sale.
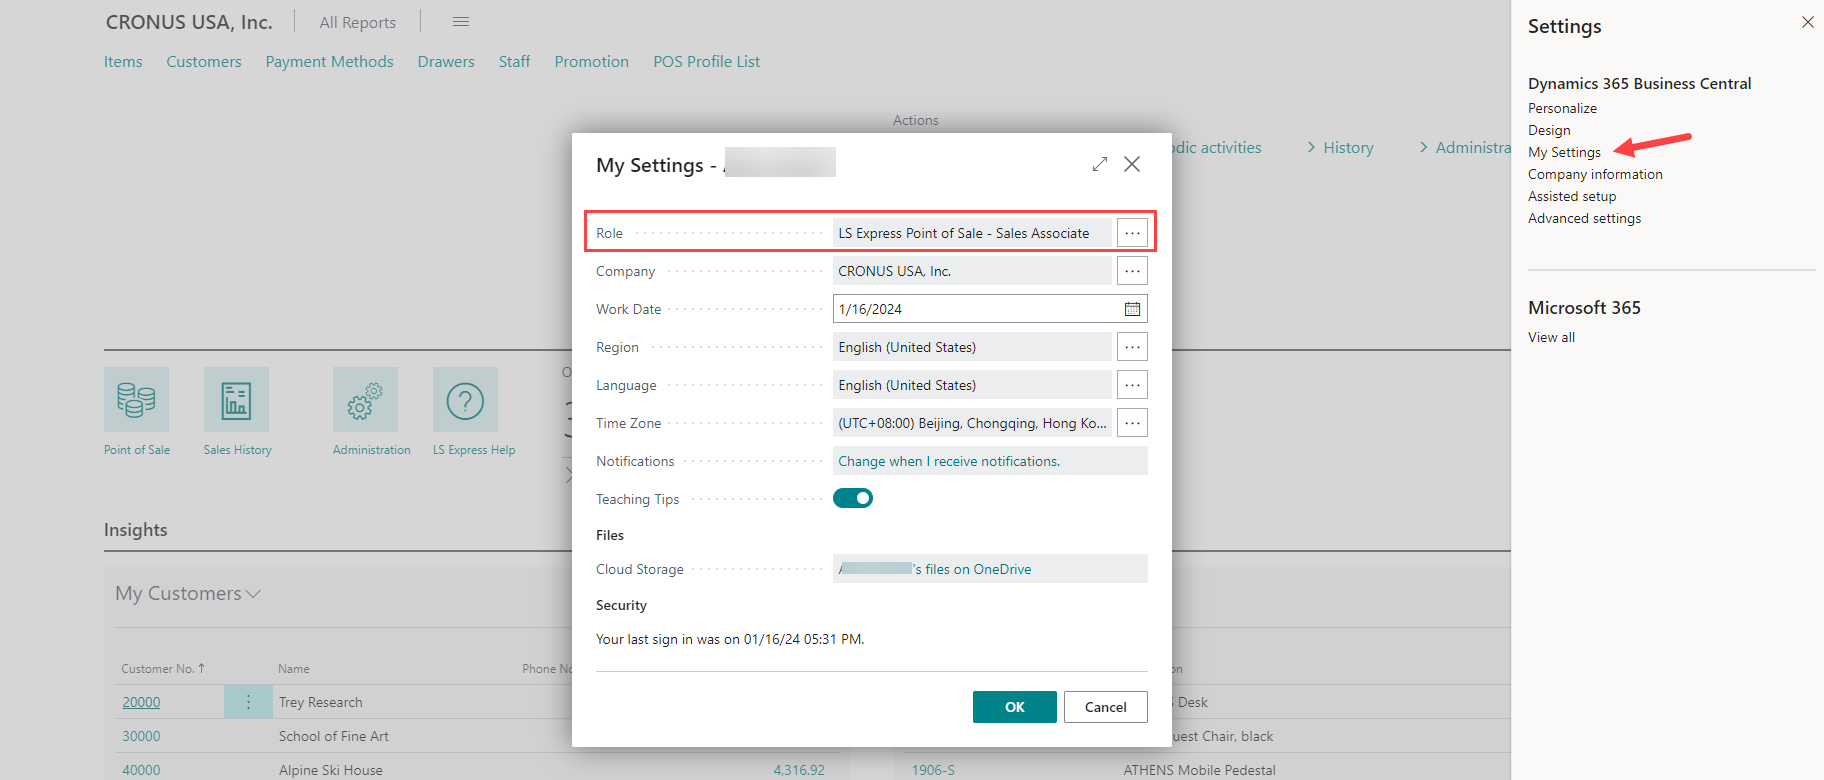
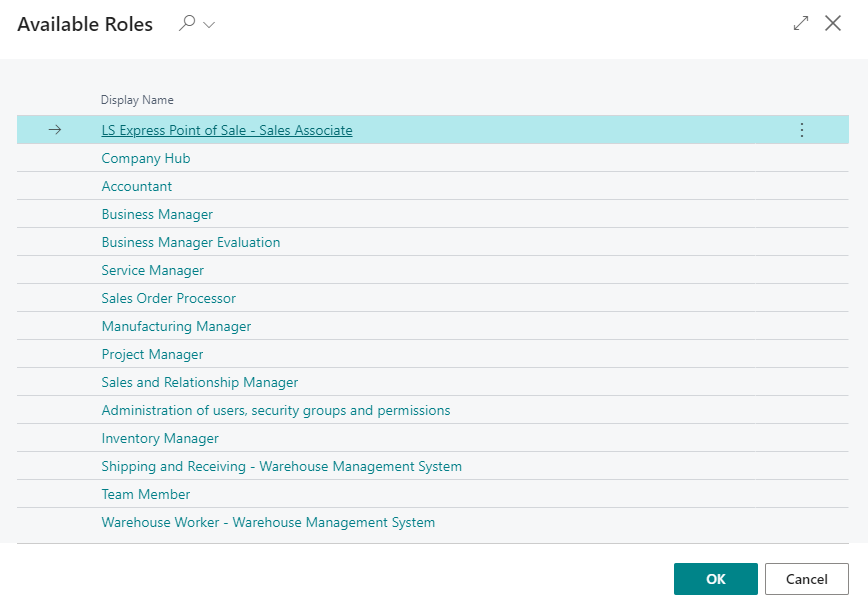
Once LS Express has been added to Microsoft Dynamics 365 Business Central, each user intending to use the point of sale must change their role center to LS Express Point of Sale - Sales Associate, where all actions are available.
Connecting and using barcode scanners with LS Express is easy but always depends on the device and scanner in question.
USB connected scanners
If the device you are using has a USB port, connect a USB scanner to an available port, and you are ready to start scanning.
Note that you cannot use OPOS scanners with LS Express.
Scanners connected via Bluetooth
If you have a Bluetooth device and have a Bluetooth scanner, then pair the scanner with the device. The pairing can be different between scanners, so please see your scanners user guides for more information.
Now that you have Microsoft Dynamics 365 Business Central, you can easily add LS Express.
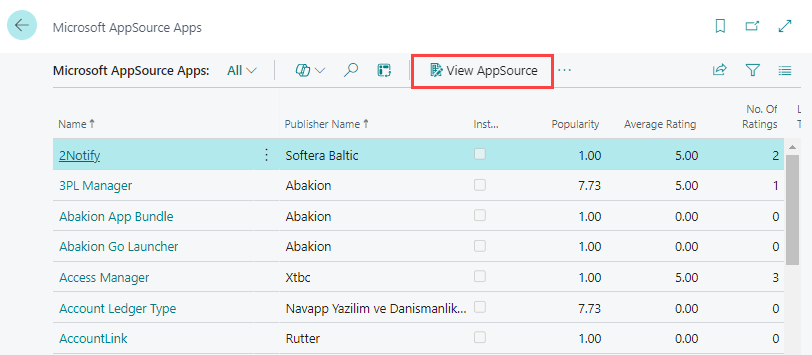
You can find LS Express by visiting the Microsoft AppSource website.
-
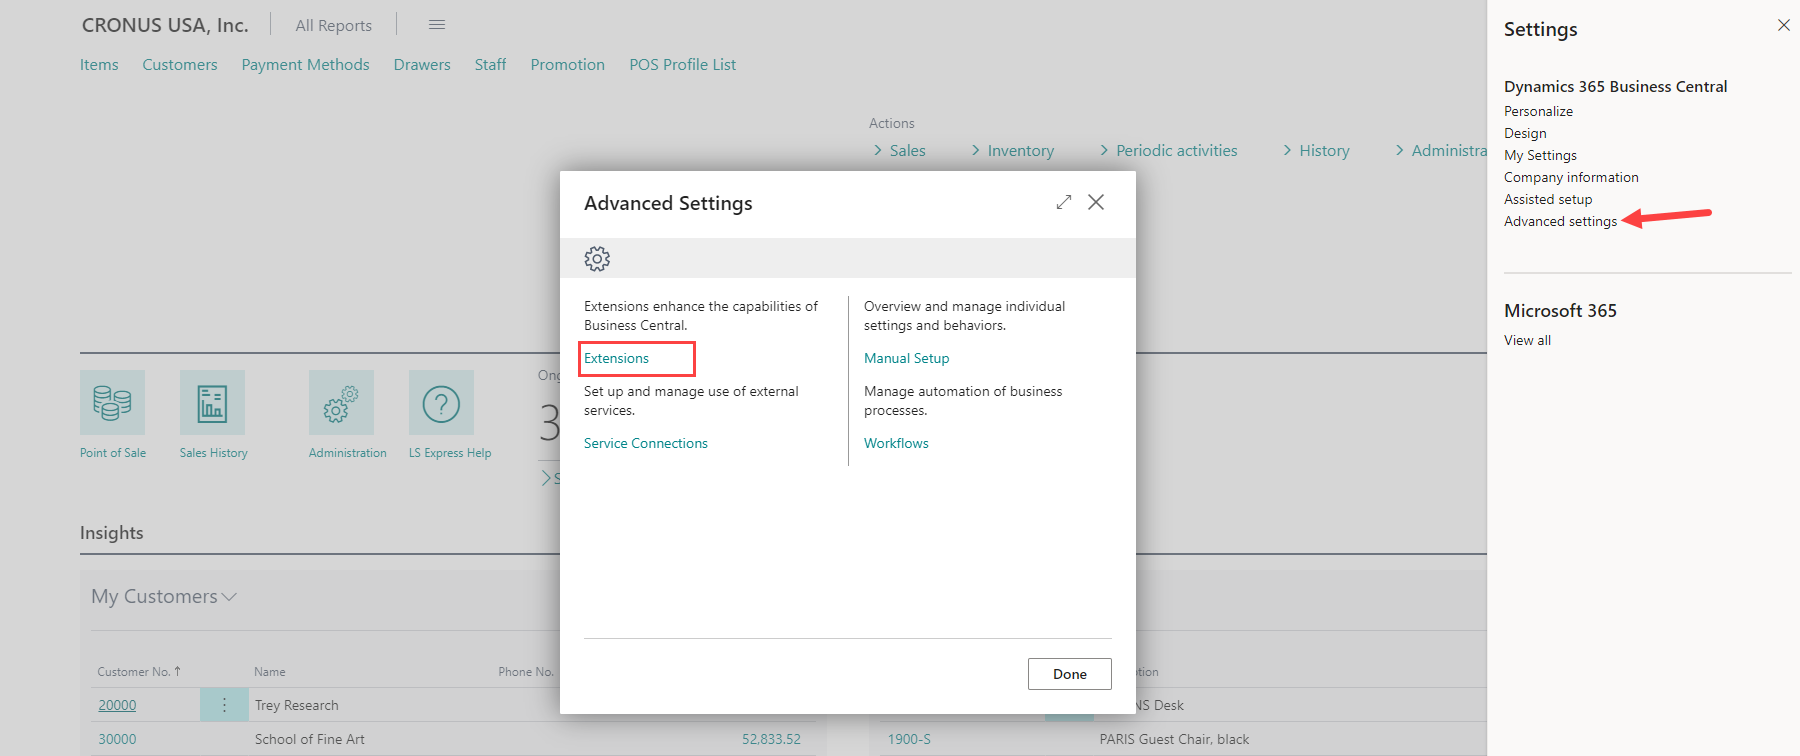
From the role center, go to Advance settings, and select Extensions.
-
On the Extensions page, you can manage installed extensions or add new ones from AppSource.
-
To add LS Express:
-
Select AppSource Gallery from the Actions ribbon.
-
Search for LS Express.
-
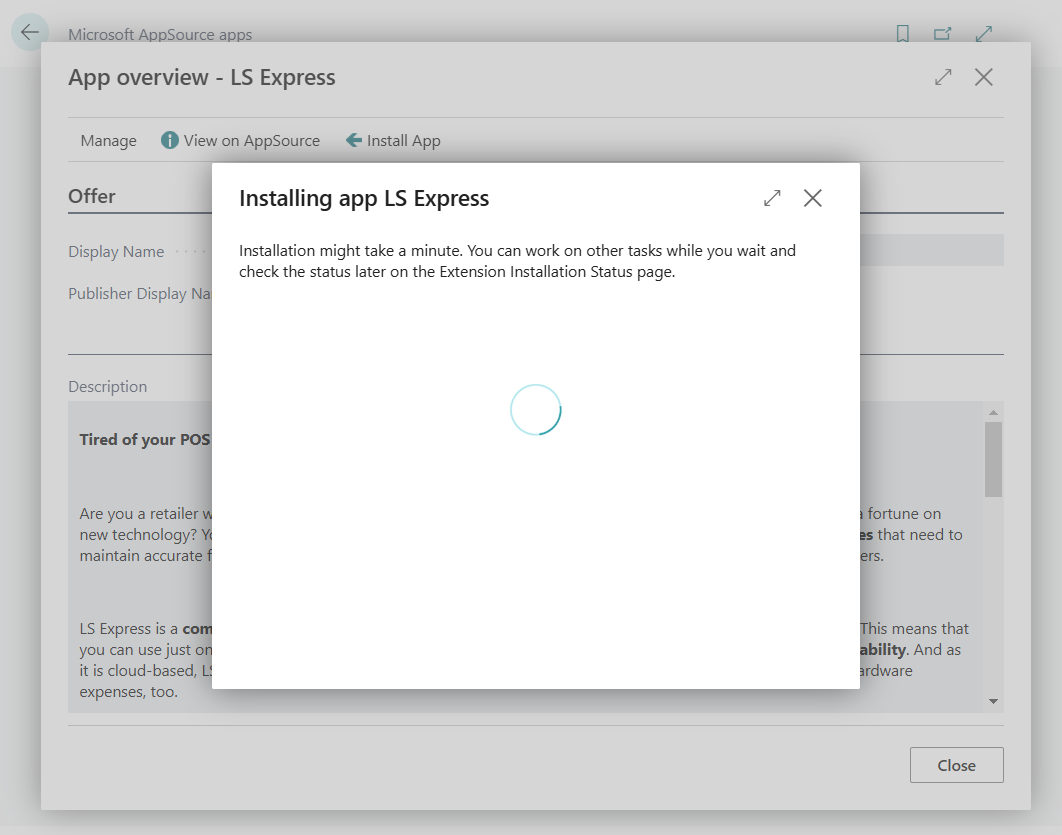
Install the LS Express app.
Alternatively, you can visit AppSource directly and search for LS Express to install it.
-
-
Once LS Express is installed, it will appear in the Extensions page.
The POS user most likely does not have the LSExpress permission set assigned.
To assign permission, click this link.
LS Express does not support directly from the POS. These are the workaround solution:
-
Create Sales Order, including the lay-by items
-
At the POS, make a Payment into account for the installment: Pay to Customer Account (You can do this multiple times until the customer pays the full amount for the lay-by items)
-
Post the Sales Order and pay the invoice using the Payment registration journal. [Apply Payments to Unpaid Sales Documents - Business Central | Microsoft Docs|]
You can use the same method as for Lay-by, or you can:
-
Create Sales Order
-
Post prepayment invoice [Invoice Prepayments - Business Central | Microsoft Docs|]
-
At the POS, make a Payment into account and select the prepayment invoice to be paid: Pay to Customer Account
-
Post the Sales Order when the custom item is in the store and ready to be picked up by the customer
-
At the POS, make a Payment into account and select the Sales invoice to be paid
LS Express supports multiple payment methods. For more information, see here.
See Microsoft documentation on Reconciliation [Overview of Tasks to Manage Receivables - Business Central | Microsoft Docs|]
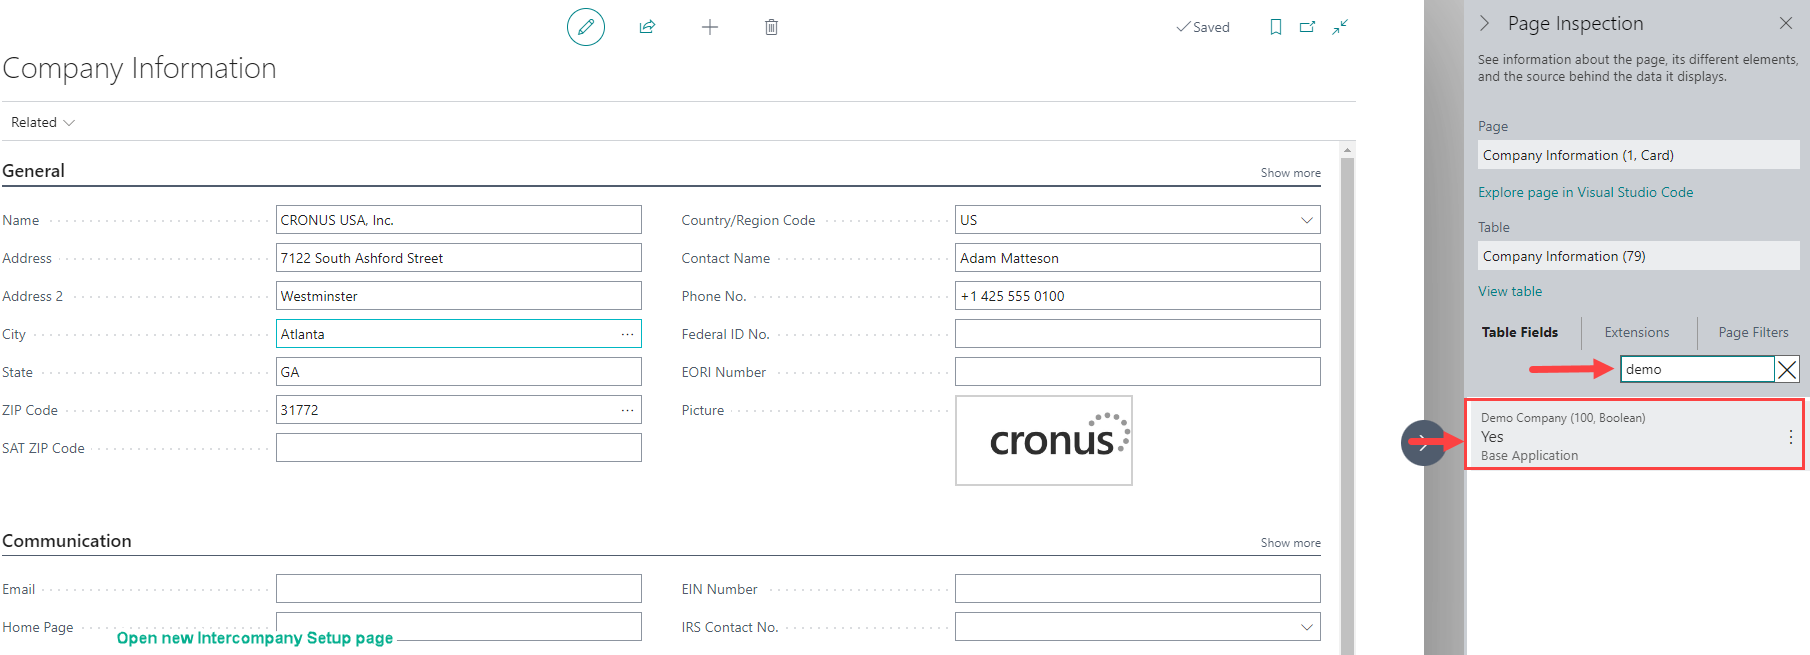
Open the Company Information page in your LS Express application and perform a "Page Inspection" from there. Look for the "Demo Company" Table Field in the page inspection details. If the company is a demo company, this field will display "Yes". If it is not a demo company, the field will display "No".

